Explore our expert-made templates & start with the right one for you.
UPSERT data to Snowflake using Upsolver
Before we start, you must have already deployed Upsolver and created data sources. Try Upsolver for FREE.
Upsolver can load data into many databases including Snowflake. This guide creates a Snowflake data output. It uses a key to perform UPSERT to a table. This feature can be used for loading CDC data to Snowflakedb.
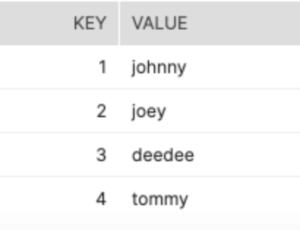
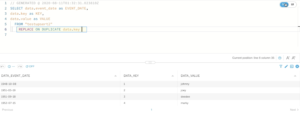
This guide uses an example where the existing Snowflake table has the following data.
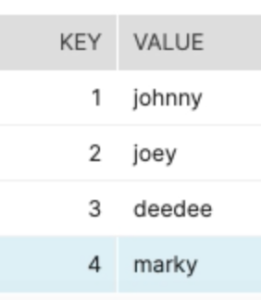
The new data source has a different value for KEY #4.
Let’s take a look at how UPSERT works in Upsolver.
Create a Snowflake data output
1. Click on OUTPUTS on the left and then NEW on the right upper corner.
2. SELECT Snowflake as your data output.
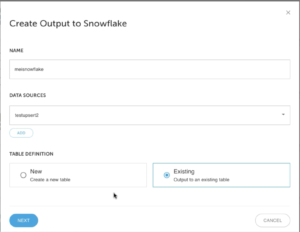
3. Give your data output a NAME. Define your DATA SOURCES and whether is a New table or an Existing table. This example upserts to an existing table. Click on NEXT.
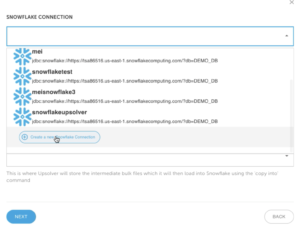
4. Under SNOWFLAKE CONNECTION select Create a new Snowflake Connection
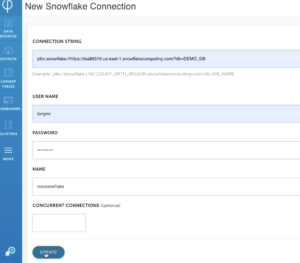
5. Fill out the CONNECTION STRING for Snowflake. Also enter your Snowflake USER NAME and PASSWORD. Provide a NAME for this output connection. Click on CREATE.
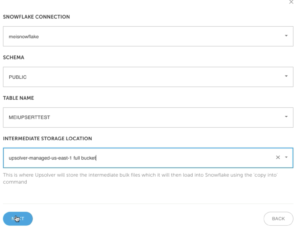
6. Provide details for your Snowflake environment. Including Snowflake SCHEMA, TABLE NAME. Provide an INTERMEDIATE STORAGE LOCATION for data before merging to a Snowflake table. Click on NEXT.
Define the key for UPSERT
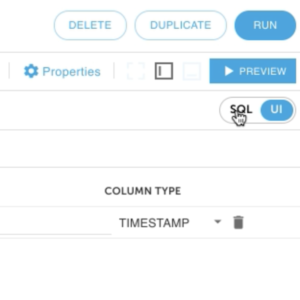
1. Select the SQL window from the upper right hand corner. Keep in mind that everything that you do on the UI will be reflected in SQL and vice versa.
2. The sample SQL uses the REPLACE ON DUPLICATE data.key statement to perform the UPSERT.
3. Click on RUN on the upper right hand corner.
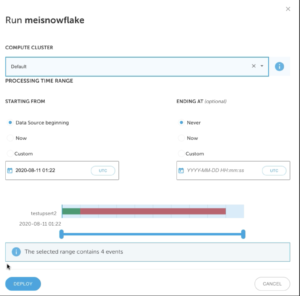
4. Choose the COMPUTE CLUSTER and the time range that you want to load your data from. Click on DEPLOY.
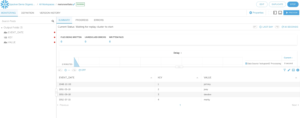
5. Wait for a moment for the data to output to Snowflake.
Verify the CDC Snowflake data output
Before UPSERT:
After UPSERT:
