Explore our expert-made templates & start with the right one for you.
Create an Amazon S3 data source
If you haven’t signed up for Upsolver, follow this guide to deploy Upsolver.
Upsolver supports ingesting all data formats from various data source types including but not limited to:
- Amazon S3 data source
- Amazon Kinesis Stream data source
- Kafka data source
- Amazon S3 over SQS data source
- Microsoft Azure Blob Storage data source
- Google Cloud Storage data source
- File upload data source
- JDBC data source
- Microsoft Azure Events Hub data source
- HDFS data source
Upsolver can read events directly from your Amazon S3 bucket. Data can be partitioned by event date. This guide is using COVID-19 data from Amazon AWS.
Create a S3 bucket with sample data (Optional. You can use your own data set.)
- Download a COVID-19 test data set from here (July 1, 2020). You may subscribe to Amazon AWS COVID-19 testing data for the most up-to-date data sets. Or you can use your own data set.
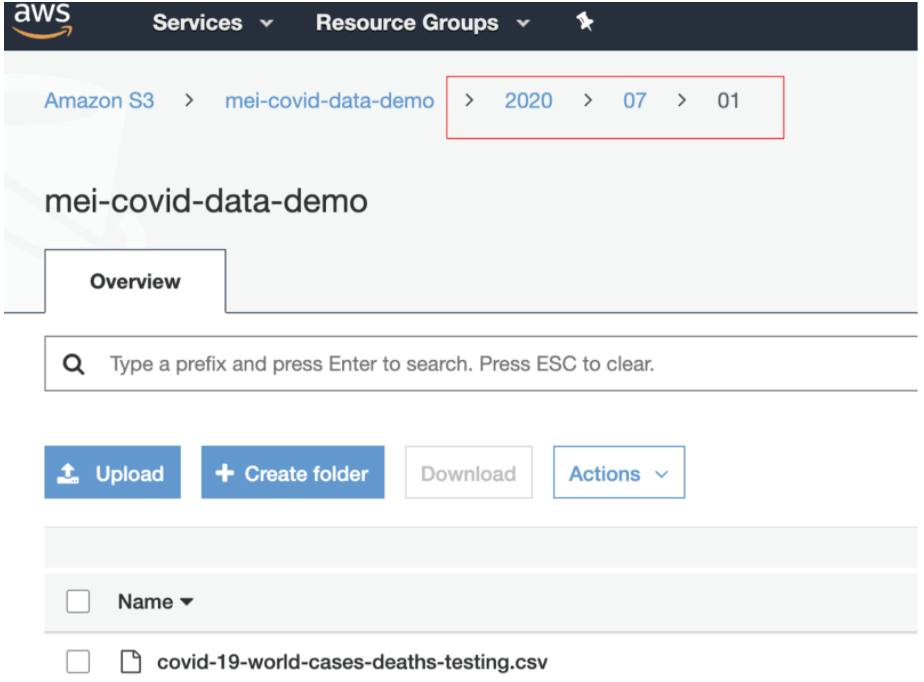
- Create a S3 bucket in your own AWS account with data partitioned by date. Since the data set being used here is from July 1, 2020. Put the CSV file under 2020/07/01.
Create a new Amazon AWS S3 data source
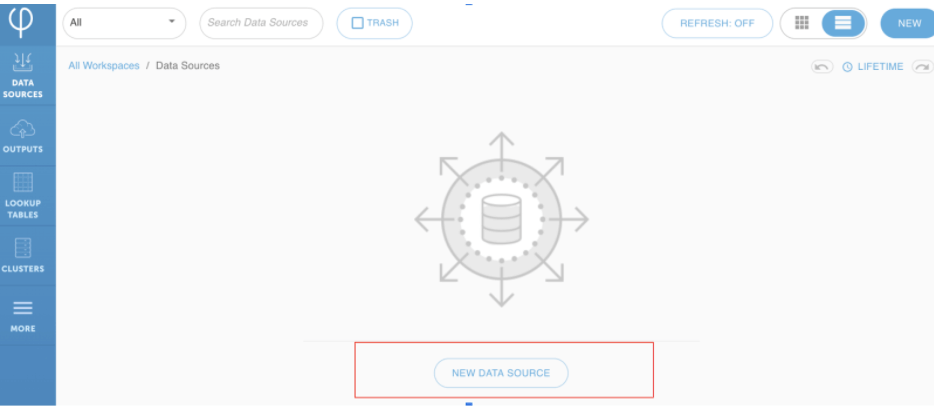
- From your Upsolver UI, click on NEW DATA SOURCE.
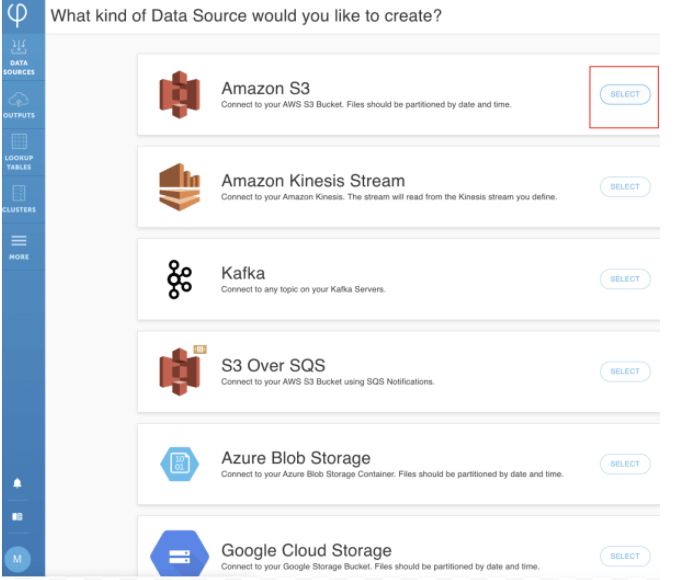
2. SELECT Amazon S3 data source.
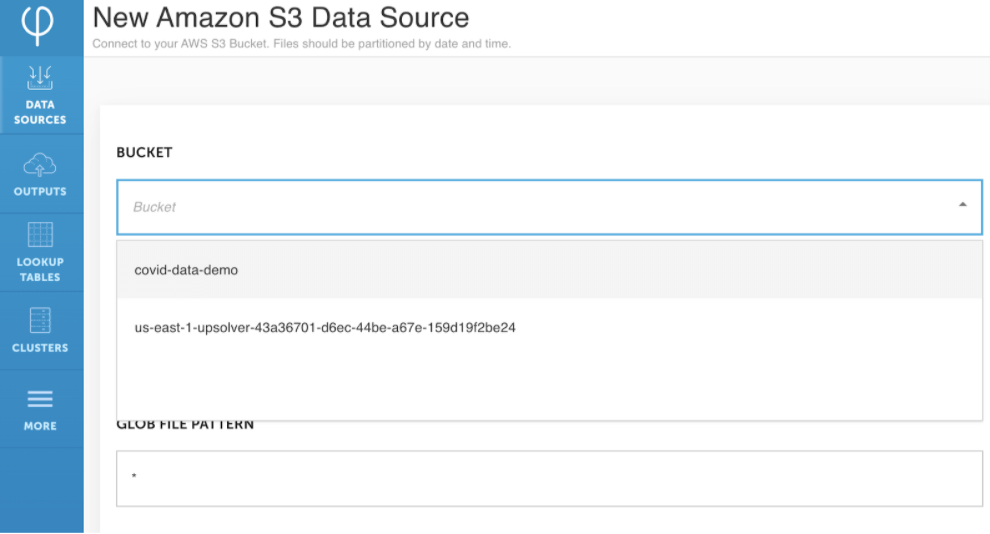
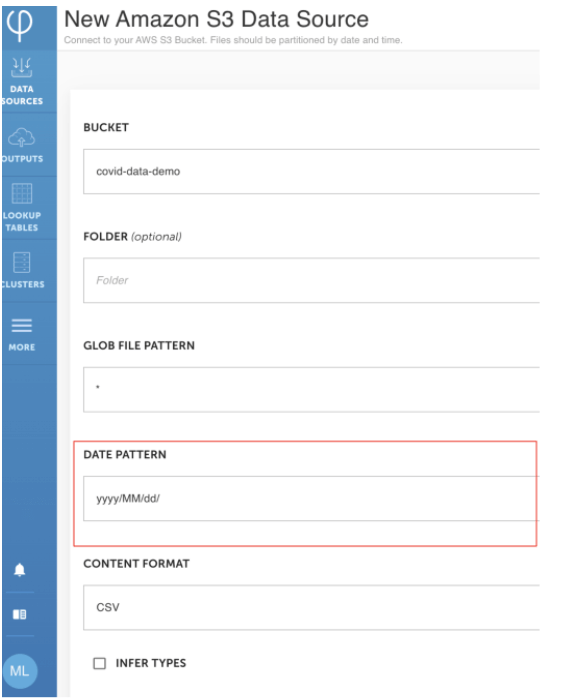
3. Since Upsolver is integrated with your S3 storage, your buckets are automatically detected. Select the bucket in which your data is located.
4. The DATE PATTERN should match how S3 bucket data is partitioned. From step 2. Example: for 2020/07/01, DATE PATTERN should be yyyy/MM/dd/
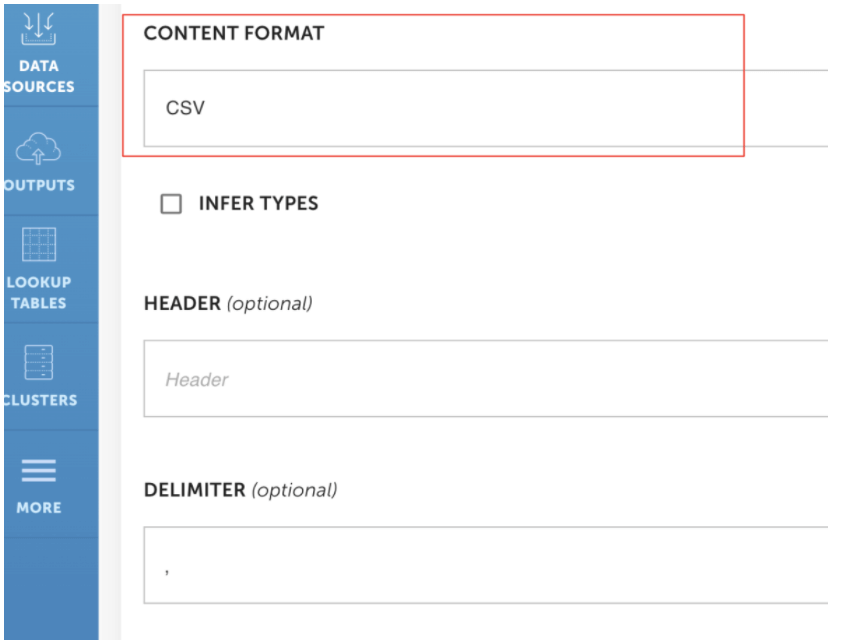
5. Choose CSV as CONTENT FORMAT. Keep in mind that Upsolver supports all file formats. CSV is being used as an example here.
Different data types provide various options to parse the data. Example: for CSV files, you may check INFER TYPES to auto detect data types. If unchecked, Upsolver will take in each field as STRING. You may also optionally define the headers of the columns you want to load under HEADER. Define your own delimiter under DELIMITER.
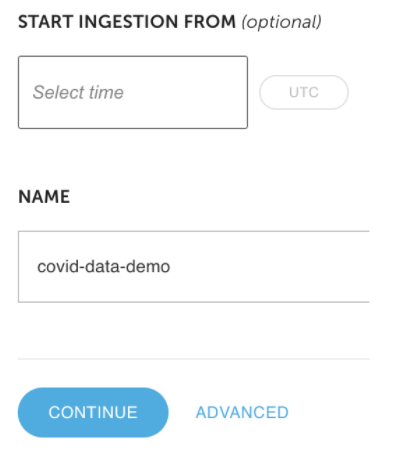
6. Click on CONTINUE.
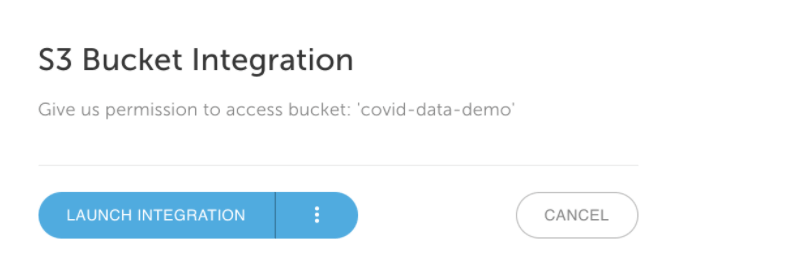
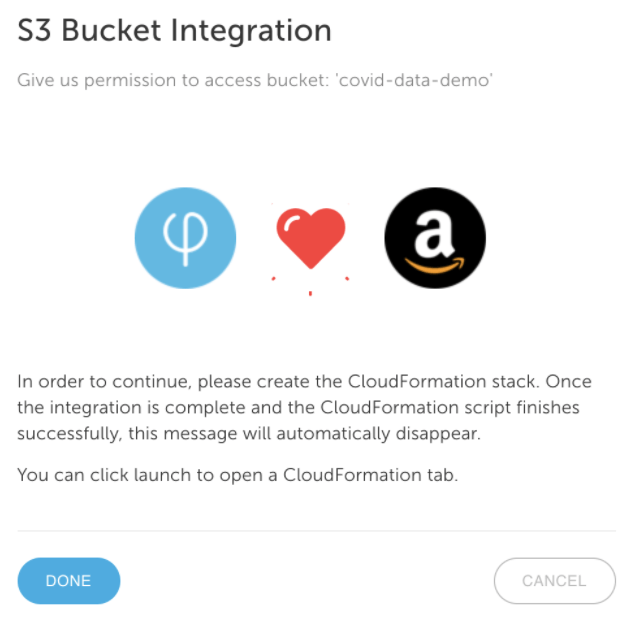
7. Click on LAUNCH INTEGRATION to integrate your S3 bucket with Upsolver.
8. Scroll down the Create stack page and check the acknowledgement box. Click on Create stack.
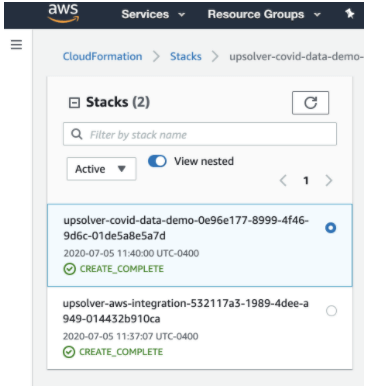
9. The stack should be created within a minute with a “CREATE_COMPLETE” message.
10. Go back to the Upsolver UI and click on DONE.
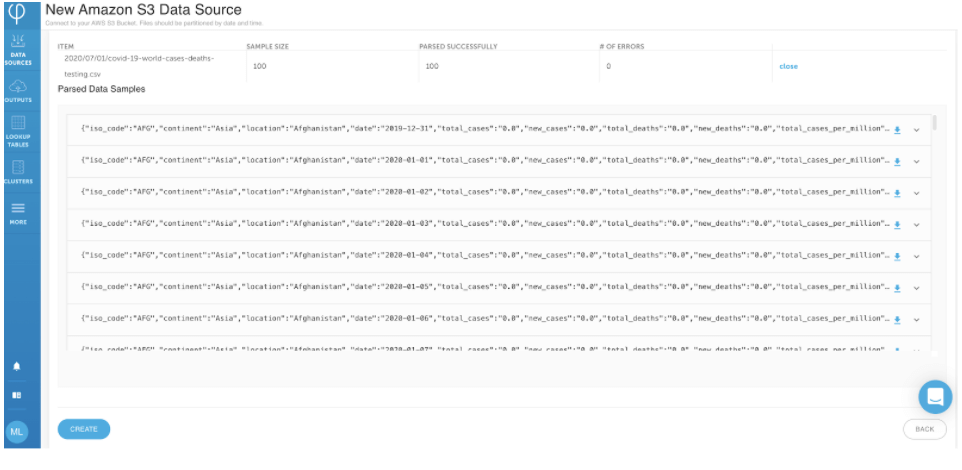
11. You should see a sample of data being parsed. If everything looks ok, click on CREATE.
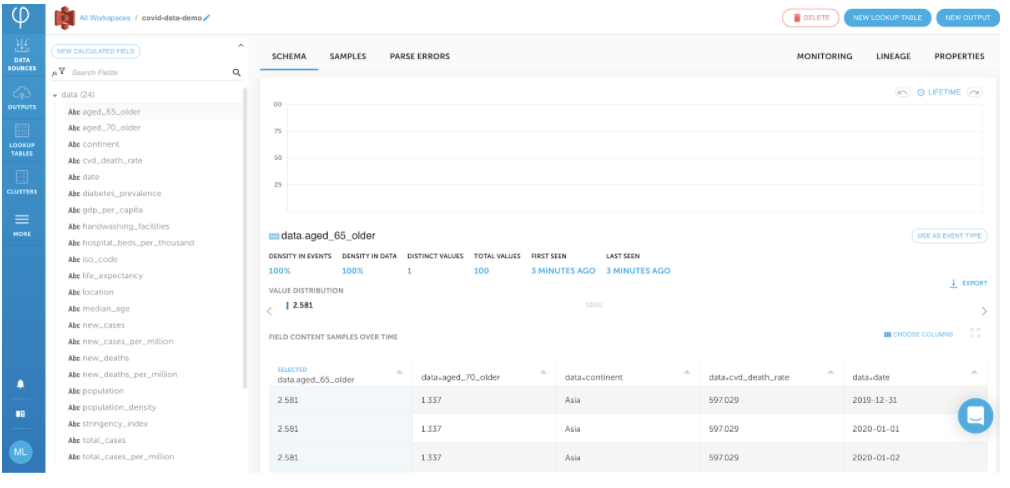
12. Congratulations! You have successfully created an Amazon S3 data source. You may click on the PARSE ERRORS tab to ensure everything was parsed properly.
